Morning Glory and Ginger
2 Easy Projects for Your Garden or Patio
Hastypearl
When it’s Spring, we all seem to have LOADS of extra energy, hope and imagination and want to get surrounded by color as fast as possible, right? Well, for years, I have gotten the Most, from a tiny investment with these two fun ideas. Do them with your kids or grandkids and you’ll teach them about the Wonders of gardening and they will want to do it again and again.
Surprisingly, you don’t have to go to a garden center for everything. Often, there are plenty of roots in your markets produce section and seed packet stands, to choose from.
Every year, I pick up packets of all of the colors of annual Morning Glory seeds. They are very affordable and with a high success rate, you will get more coverage than you can imagine!
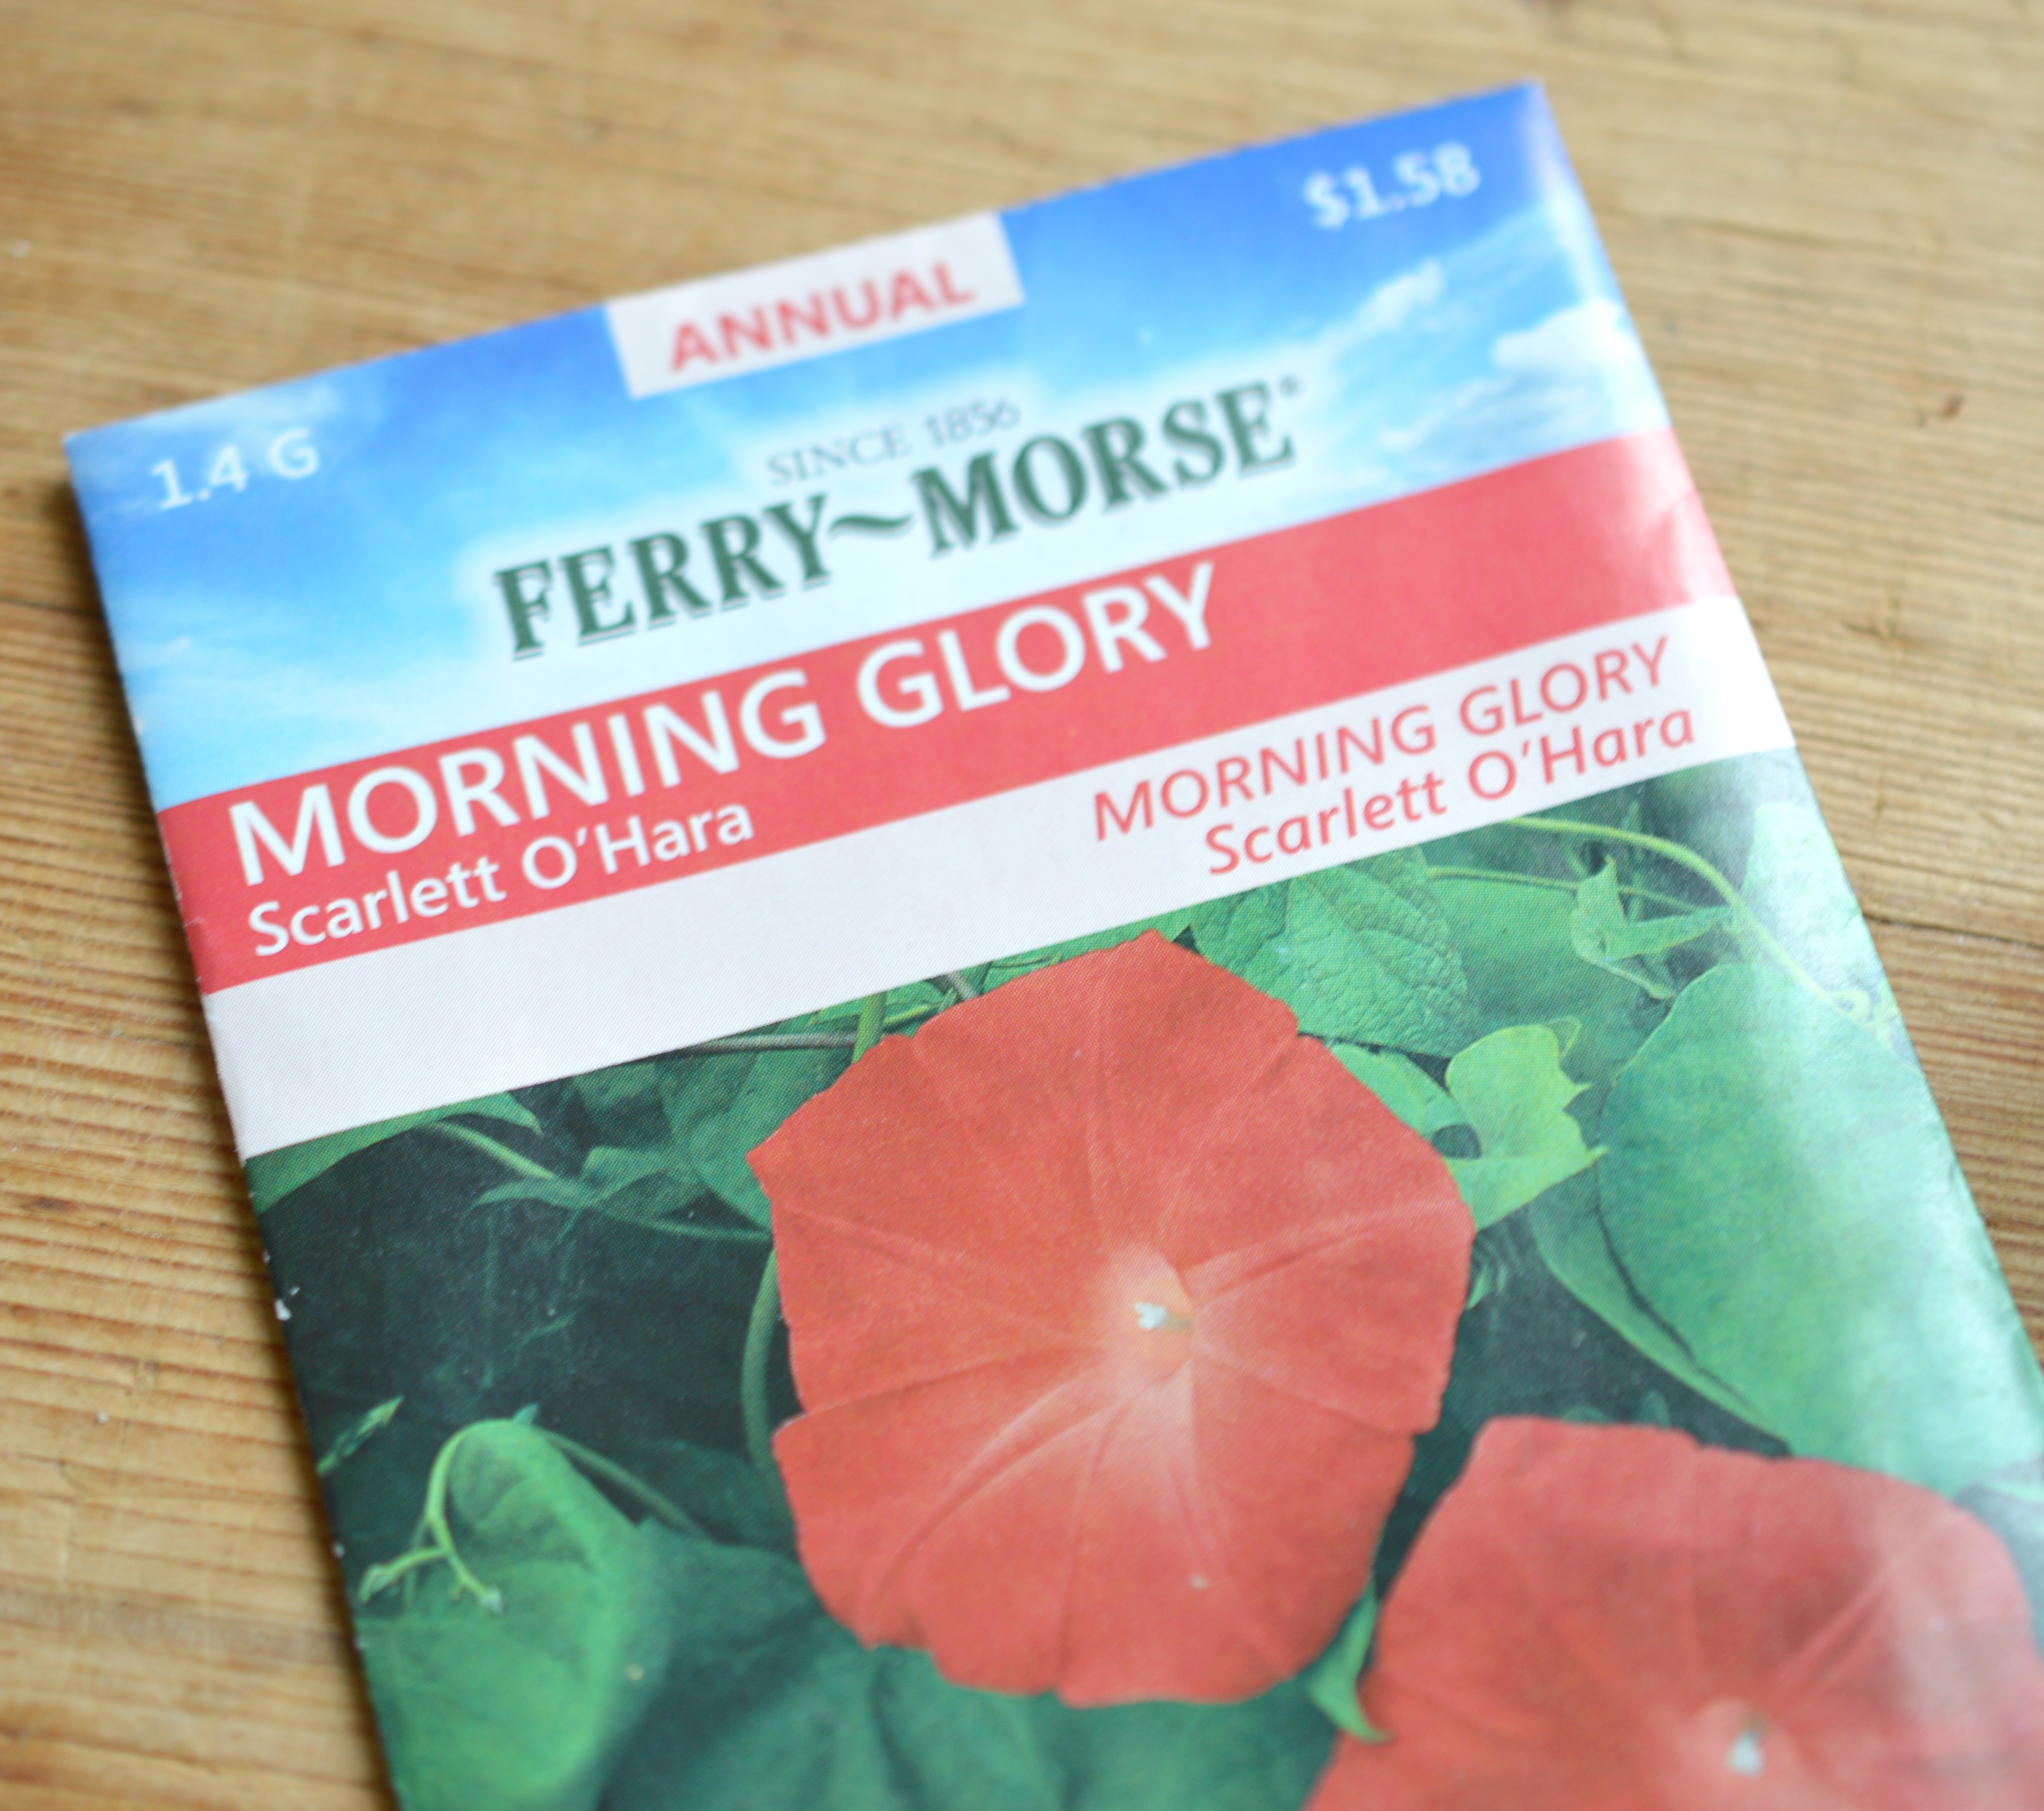
Pick up Morning Glory seed packets at your market or box store.
So, here’s the fun part. Get some water, warm to the touch, and pour the whole packet into the water. If I’m doing more than one pack at a time, I will set the empty packet under the container, just to remind me what color the seeds represent.
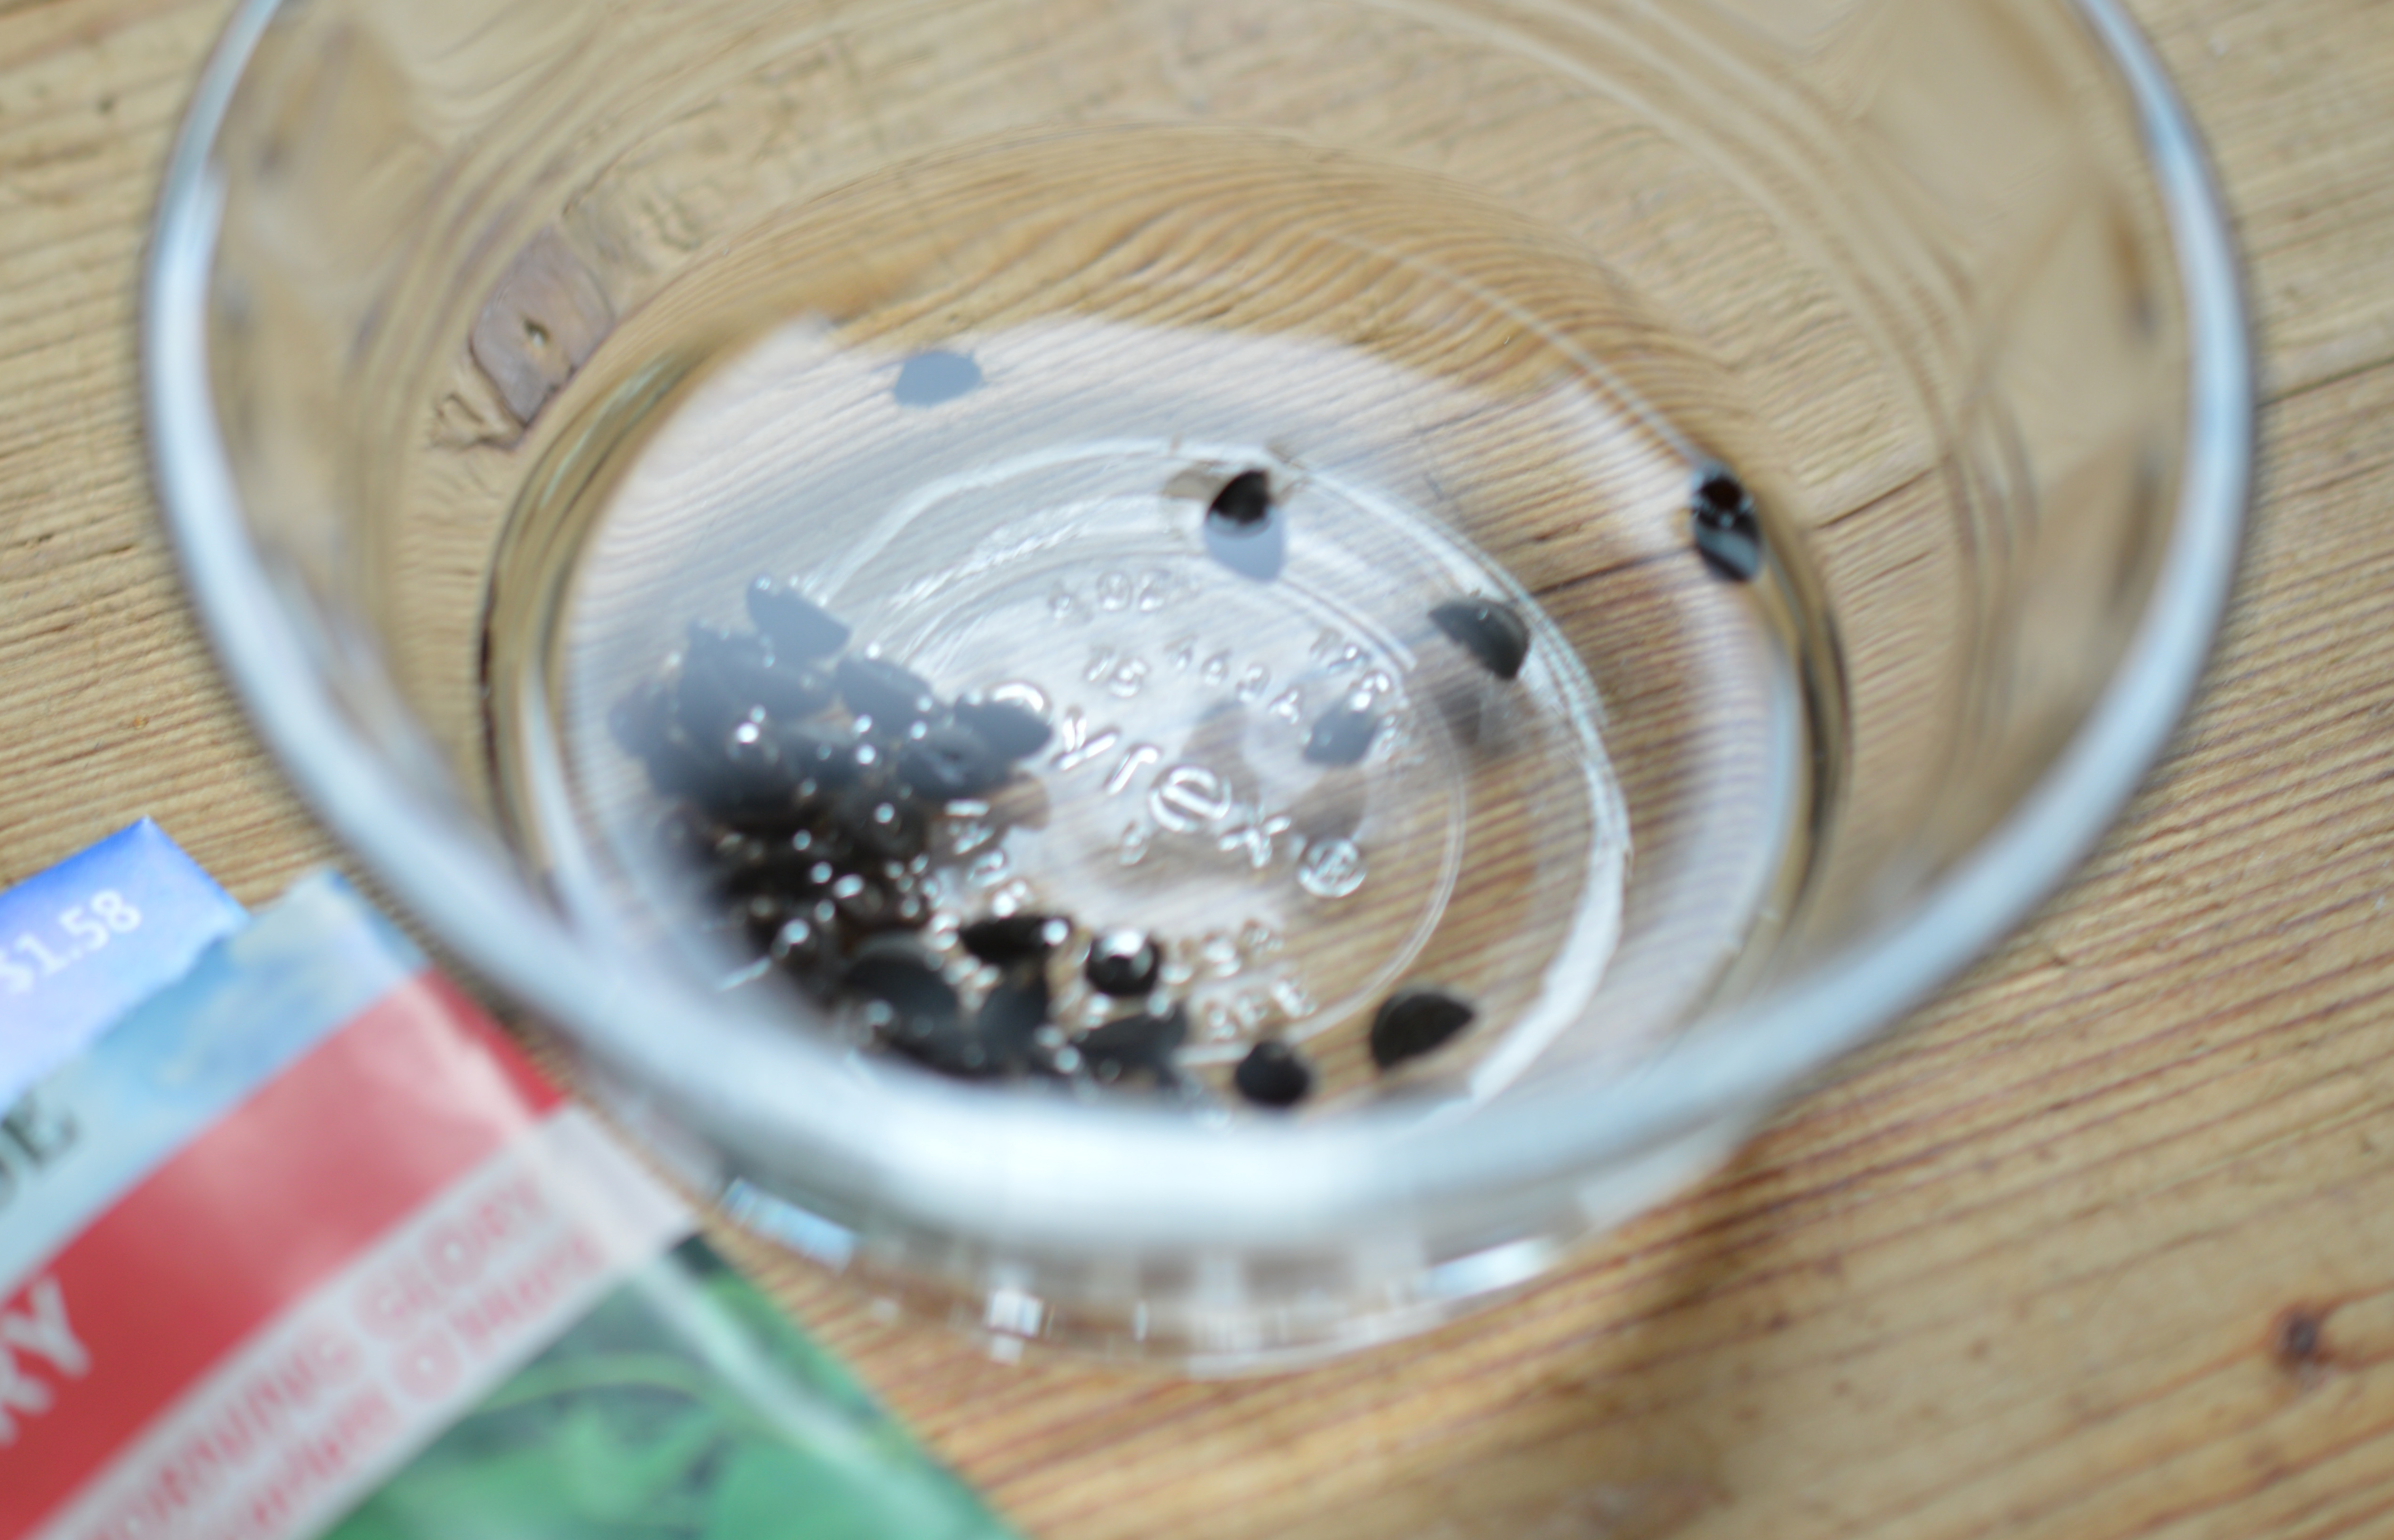
Drop your seeds in some warm water.
This process softens the seeds. It makes the seeds swell and crack. It allows the little plant to come out of the hard seed shell. Some people scarify or nick their seeds to accomplish the same thing. Soaking is Much easier ; )

Twenty four hours will do it. If you go over twenty four hours, it’s not the end of the world, but don’t leave them Forever. I’ve done that…eeek! If you are doing this with a child, it’s fun to let them soak a little Longer. They will get to see the little green plant start to sprout out of the seed. A garden will teach you almost everything that you need to know, in Life ; )
At this point, and after your last frost, you can take the seeds outside, and plant them. I literally just scratch the soils surface, drop the seeds in and cover them up. They only need to be just under the surface, keep them watered and before you know it, they will be coming up and climbing up anything that they can! You don’t have to have a special arch. Place them at the bottom of a rose or shrub. They will twine around and up, looking for light. Watch for their Heart Shaped leaves on the vine. Next year, in the same spot, you will see the Heart Shaped leaves and decide which ones you want to keep. Don’t be afraid to pull up the seedlings, if you don’t like where they have sprouted.
I’ve had pill bugs eat the fresh green growth before. Watch your seeds, and use a little organic bait if you have a problem.
Hint…I like to only use about 1/3rd of each packet per location. You would be surprised how much coverage you will get from only a few seeds. A whole packet in one place is REALLY a lot of vines. I’ve grown that many between porch posts before and you will literally need to tie them up, from the weight.
Just sit back and wait on the most delicate trumpet shaped flowers. I promise you’ll do it, forever!
*
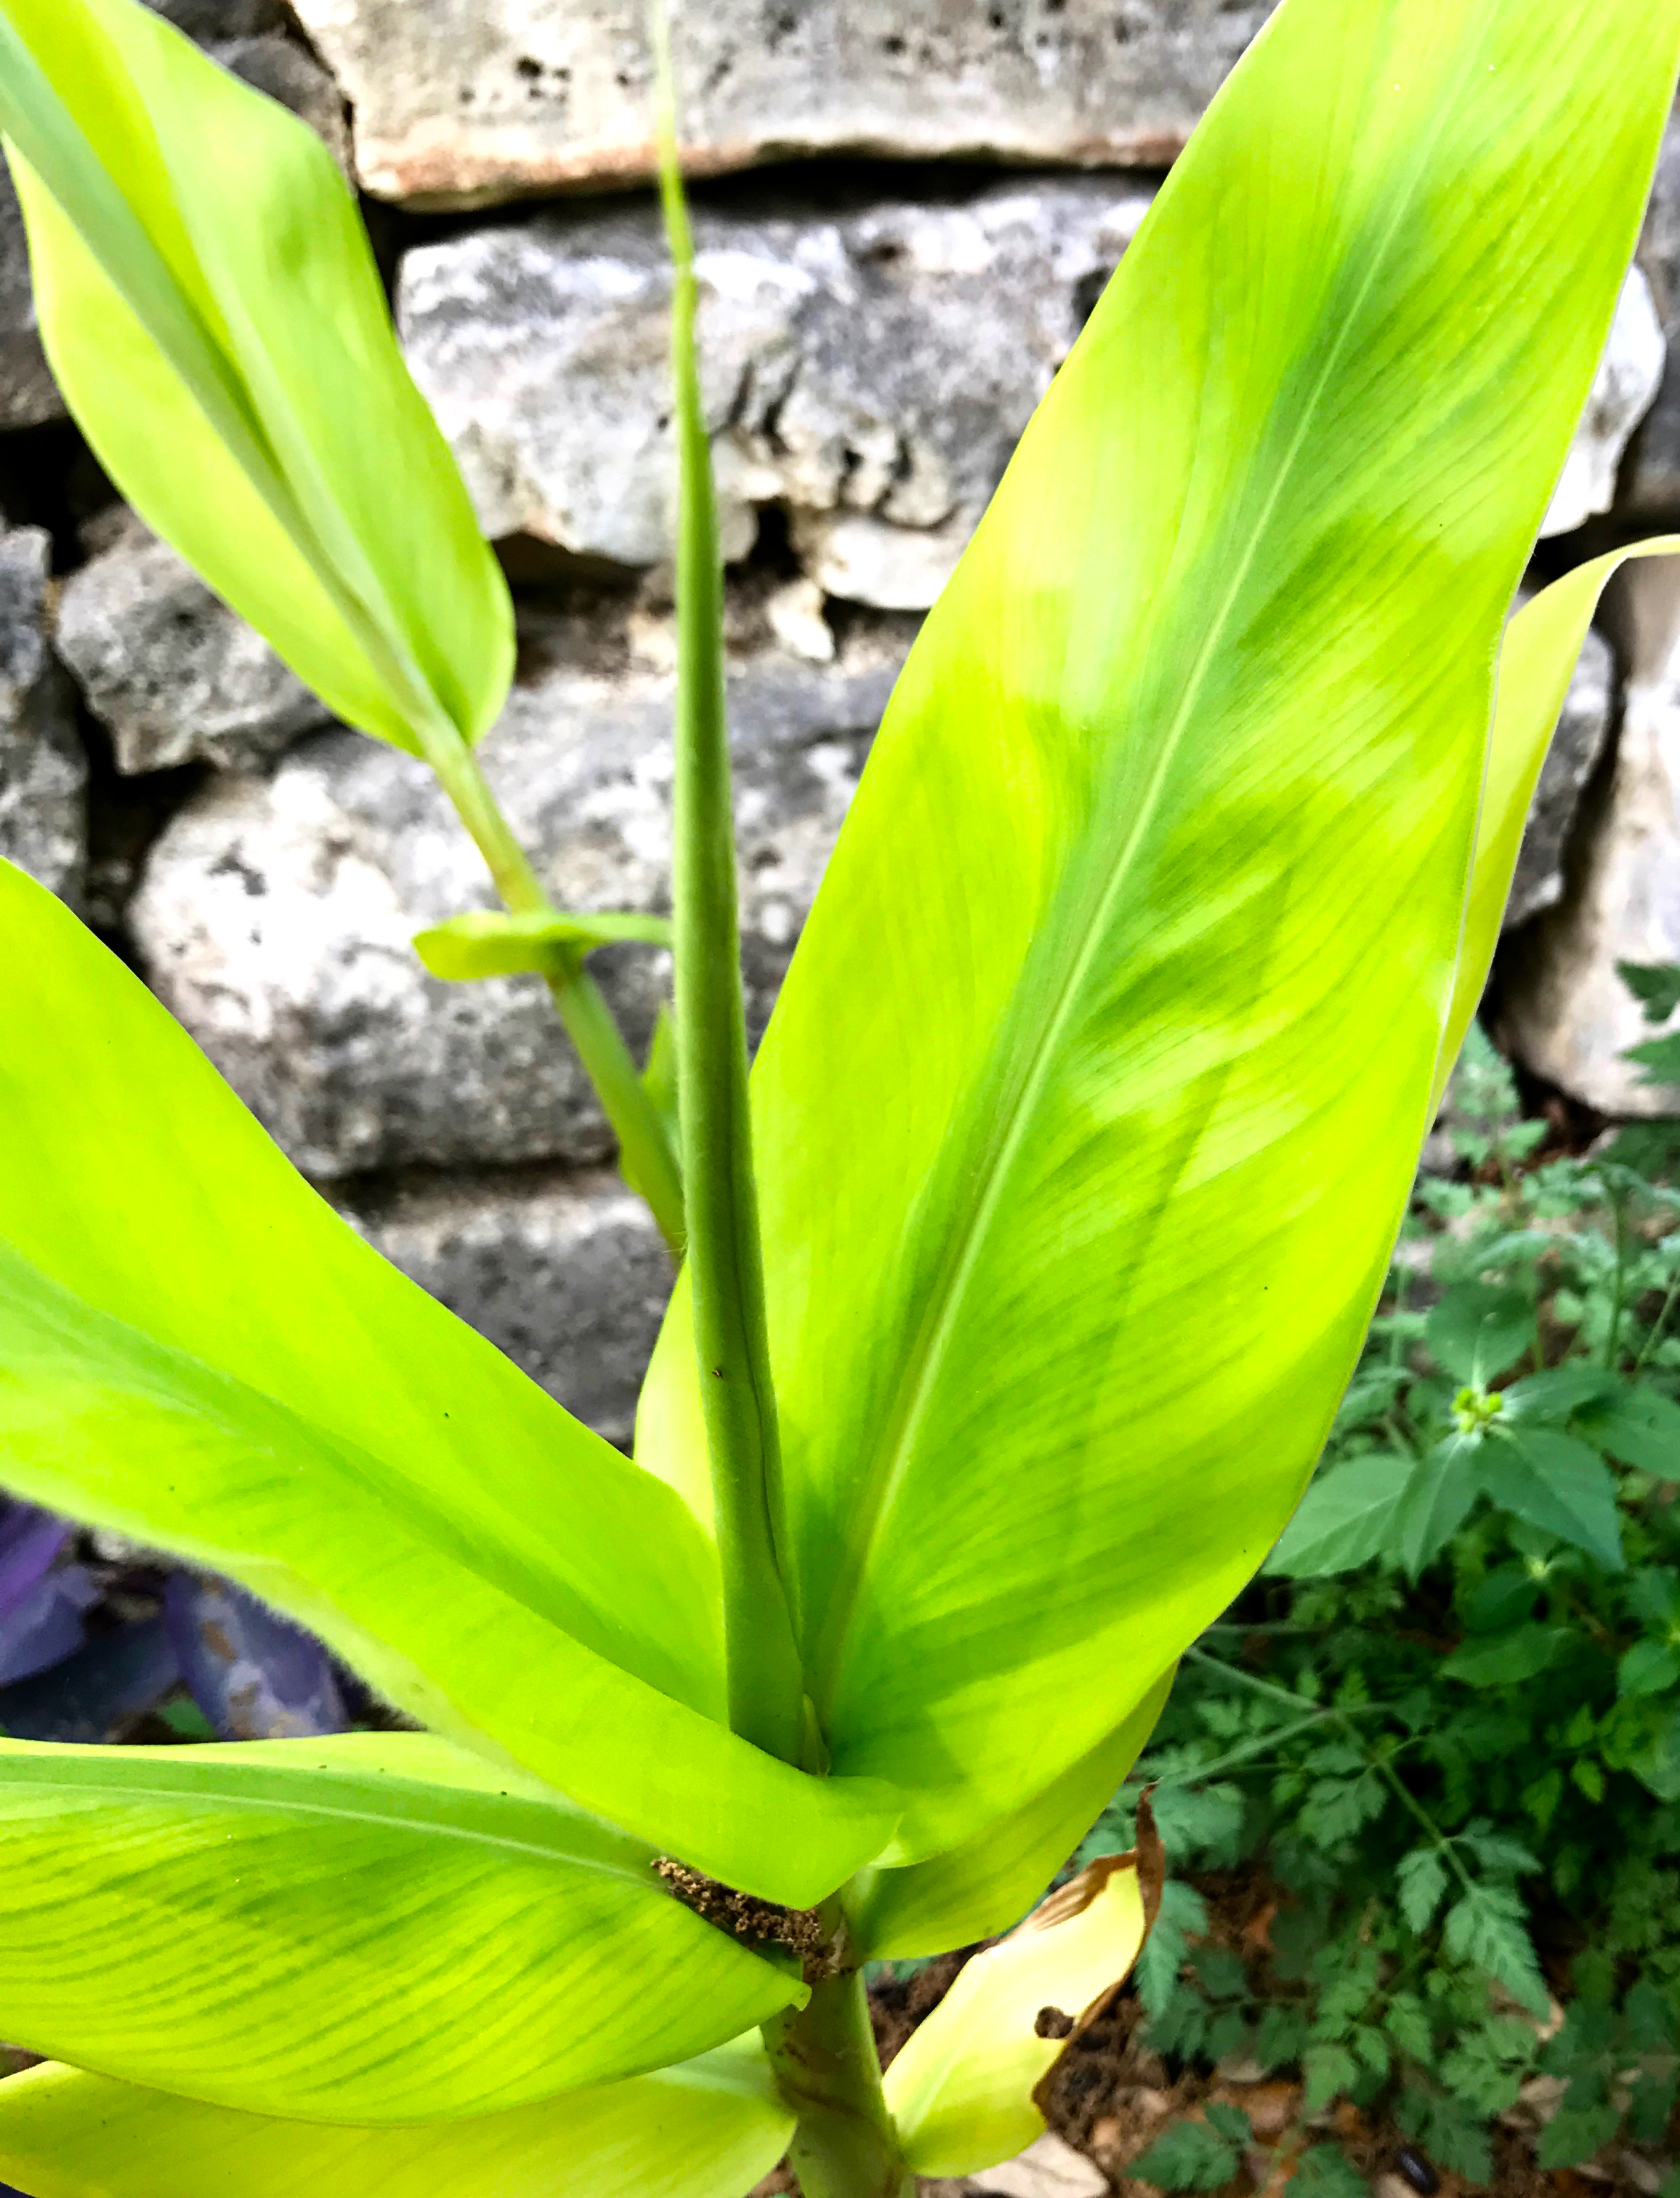
Next, the Ginger…
Again, in the produce section of your market, you will find Ginger rhizomes.
Buy a few.
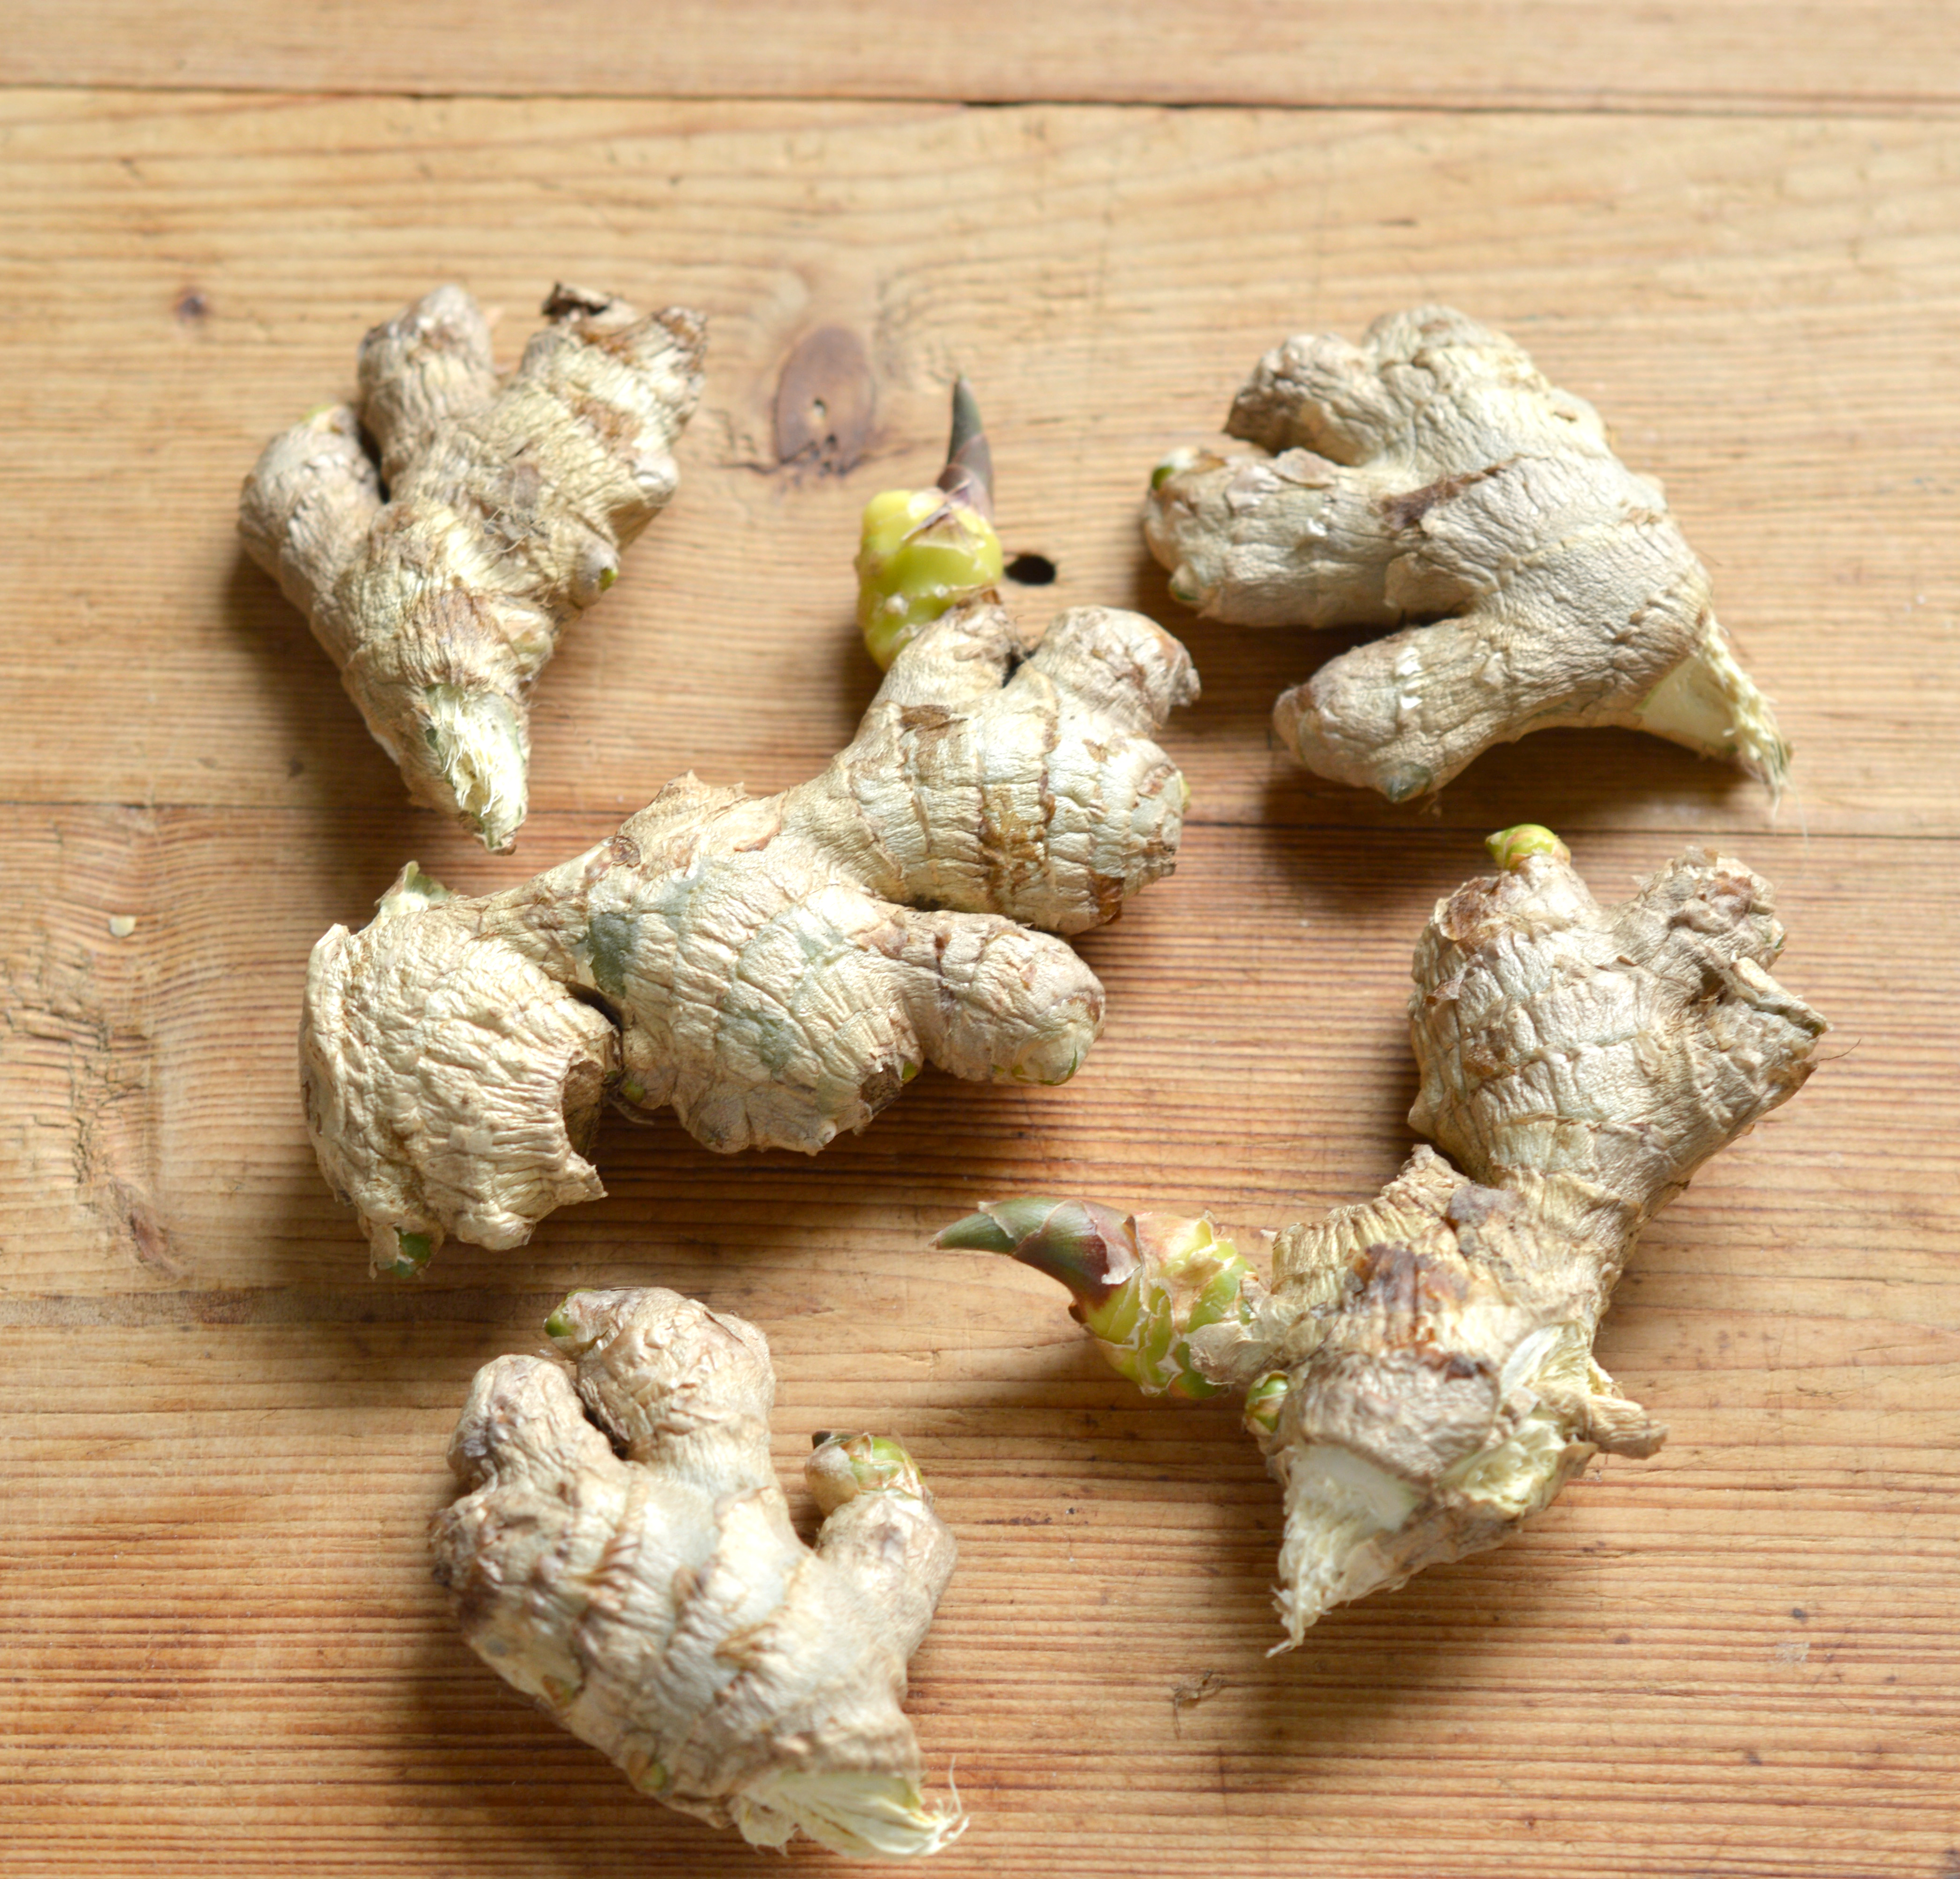
I usually break up the rhizomes and leave them on my countertop for a while, to let the juicy breaks callous over a bit. I don’t think that this is necessary, it’s just a habit that I have plus, it makes more smaller bits to plant.
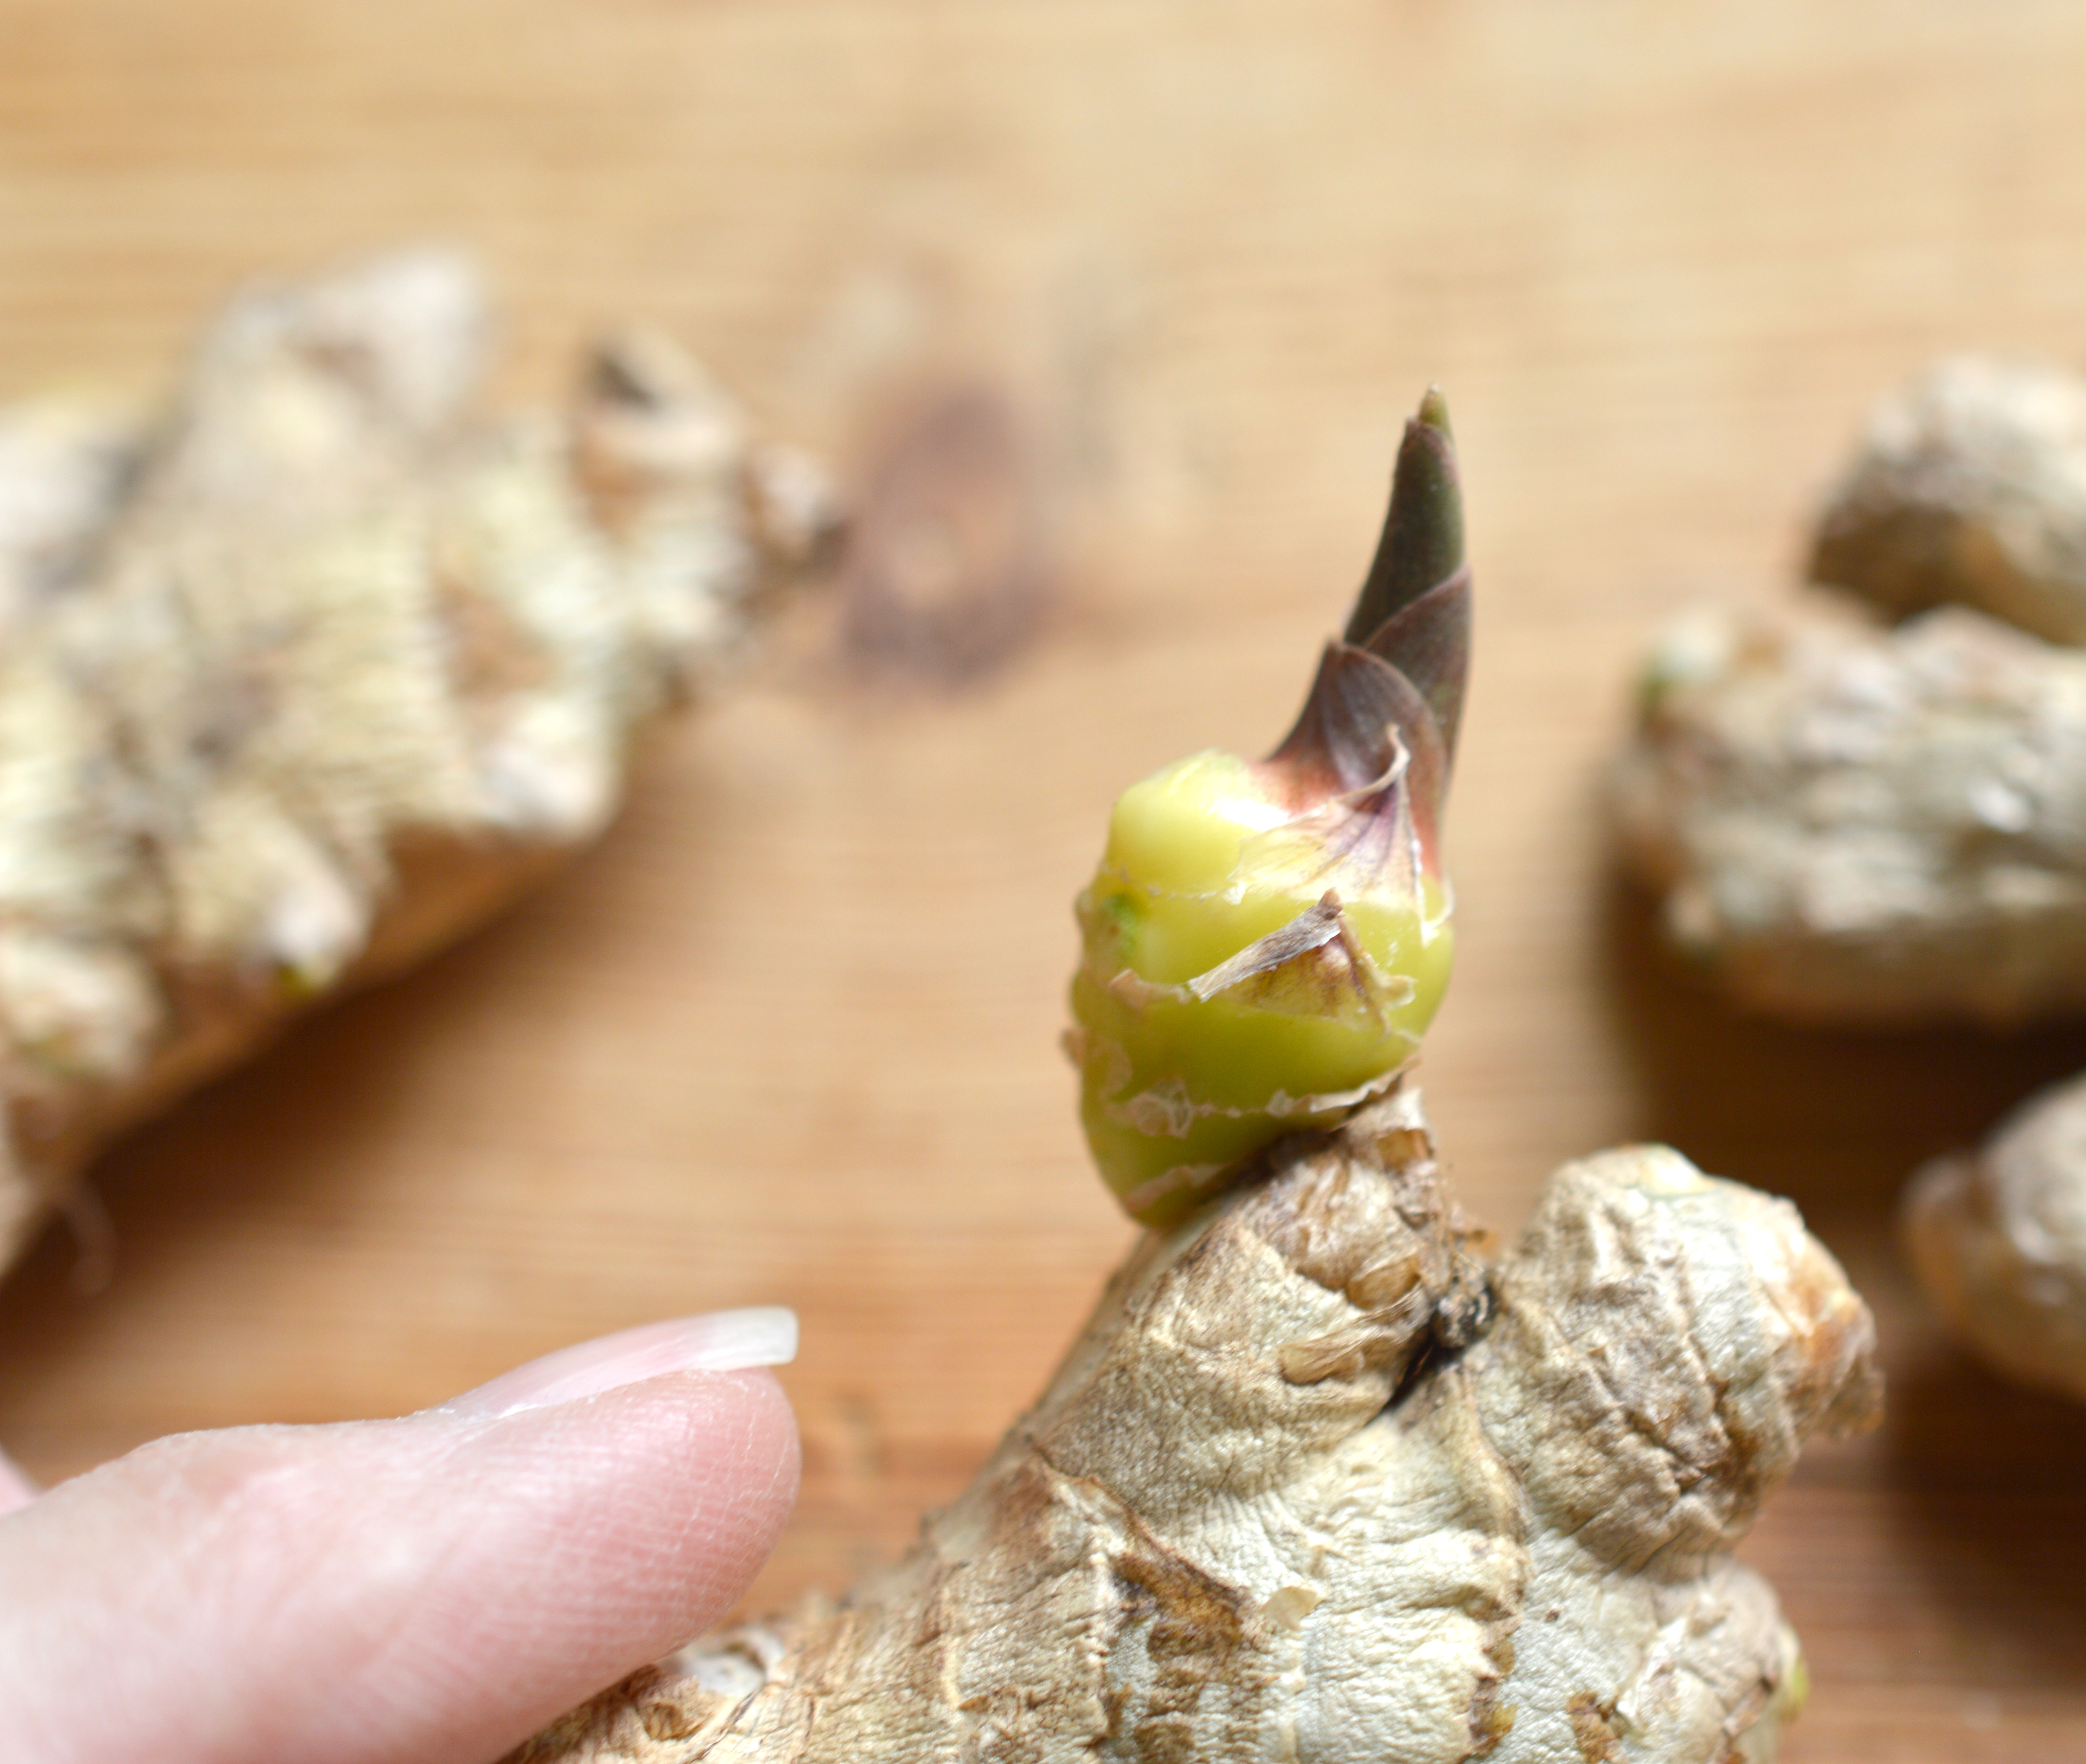
If you leave them inside long enough, they will actually break bud, just like a potato will in your pantry. Again, for teaching purposes, you might Want this to happen for your kiddos to learn about the process. Let’s face it, ALL of our kids are being Home Schooled, if we are doing our jobs right ; )
Growing Ginger is a BREEZE…
If you live in a warm climate, simply dig a hole of nice rich soil 4-5″ deep, and plop them in. If you live in a colder climate, you might instead, plant them in a pot with holes for drainage, and either bury it in your garden or place them in pots, on your patio. Take advantage of planting them on the South side of your home, next to a brick or rock wall. The wall will make a little protective eco climate, that might raise the temp by a few degrees, making it just warm enough to coax out the sought after flowers! Make sure that you mulch over them with last years leaves. That will also provide some extra warming insulation.
They ARE a tropical plant, so they enjoy a little shade (especially if you live where it’s very bright), humidity and some wind protection.
Mine are planted in dappled oak shade, in an irrigated zone.
Plant in late winter or early spring.
Your first leaves will come up as the soil begins to warm. Over time, the clump of rhizomes will grow and you can dig them up, dry them and spread them around your garden. Just like asparagus, give them a couple of years before you start harvesting them for culinary use. Your first flowers will arrive in 2 years. If you plan it right, you’ll place them near where you sit. In the evenings, the incredible Ginger Fragrance will FILL your space many yards away. In my South Central Texas evening garden, the butterfly moths dance around the white flowers doing their important work of pollination! You will enjoy All aspects, of growing Ginger.
If you NEVER get a flower, you will still enjoy the strappy, vibrant green stalks and leaves that will get to be 3-4′ tall.
Now, if you get REALLY fancy, you will place a few opportunistic climbing Morning Glory seeds, Next to your Ginger stalks and you will create a match extraordinaire!
Gardening is ALL about experimenting.
If you Fail…and you Wont, you’ve only spent a few dollars and a few minutes. But if you Succeed…you will look like the Brilliant Gardener, that we all know YOU ARE 🙂
Have fun with this and let me know how it goes for you!
Best to you…Laura aka Hastypearl
